A roof is one of the most important investments you can make for your home. Understanding the roof replacement process from start to finish ensures you know exactly what to expect, helps you avoid costly surprises, and keeps your project on schedule.
Whether you’re replacing an aging roof or upgrading for better energy efficiency, a step-by-step approach is the way to go—and in this guide, the Adam Vaillancourt Roofing & Gutters team will walk you through it all.
Why Understanding the Roof Replacement Process Matters
Many homeowners only think about their roof when a leak appears—but by then, you’re already dealing with damage. Knowing the roof replacement process upfront gives you peace of mind, quality, and cost savings.
When you understand each step, you can make confident decisions, work effectively with your contractor, and ensure your new roof lasts for decades.
Step 1: Initial Roof Inspection and Estimate
A new roof installation starts with a thorough inspection. Your contractor should examine:
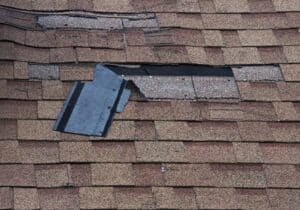
- Shingles for curling, cracking, or missing pieces
- Flashing around chimneys, skylights, and vents
- Roof decking for rot or moisture damage
- Attic ventilation to prevent future mold and heat buildup
- Gutters for granule loss and water flow issues
Many contractors now use drones or advanced imaging tools to detect hidden damage without walking the entire roof. If you’ve had recent storm or hail damage, a detailed inspection is critical for insurance claims—photos and written documentation will support your case.
You should get at least three quotes to compare pricing, materials, and timelines. A reputable contractor will break down costs for materials, labor, permits, and disposal so that you can compare apples to apples.
Step 2: Choosing a Contractor You Can Trust
The contractor you choose will make or break your project. Look for a contractor that is licensed, insured, holds numerous certifications, and maintains high ratings from past clients. You should also look at their portfolio of work.
Avoid contractors who ask for large payments upfront, can’t produce documentation, or pressure you into signing immediately.
If you’re considering a style or material change, check out our residential roofing services to see what will work best for your home and budget.
Step 3: Planning, Permits, and Material Selection
Before the first shingle is removed, your contractor should handle all required local permits. This ensures the installation meets building codes and protects you if you sell your home.
Material selection is one of the most significant decisions you’ll make. The right choice balances climate resistance, durability, style, and cost.
Step 4: Preparing Your Home and Property
A successful roof replacement requires preparation inside and out. Before the crew arrives:
- Clear the driveway so trucks, dumpsters, and material pallets can be positioned close to the house.
- Protect landscaping by covering shrubs, flowerbeds, and fragile plants with tarps.
- Move outdoor furniture, grills, and décor to a safe location.
- Notify neighbors about the project so they can plan for noise and debris.
- Secure valuables inside—roof work can cause vibrations that shift fragile items.
- Cover attic items with plastic or tarps to protect from dust or debris. The same should be done in the garage if that roof is also being replaced.
Most contractors will bring protective equipment for your property, but taking these extra steps helps avoid damage and keeps the project moving smoothly.
Step 5: Safety Measures Before Work Begins
Safety must be a top priority for both the homeowner and the roofing crew.
Before the crew gets to work, homeowners should keep children and pets out of the work zone, park vehicles away from the house, and avoid standing under active work areas.
As for the contractors, the crew must follow these OSHA guidelines:
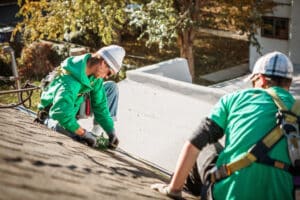
- Use fall protection systems (harnesses, guardrails, safety nets) for all workers at height.
- Secure ladders at stable points and maintain three points of contact when climbing.
- Wear personal protective equipment such as helmets, gloves, and non-slip footwear.
- Keep the work area clear of trip hazards, tools, and loose materials.
Step 6: Removing the Old Roof
The tear-off phase can be noisy and dusty, but it’s very important. Crews usually start at the farthest point, removing:
- Old shingles or panels
- Nails and underlayment
- Damaged flashing
Many asphalt shingles can be recycled into road materials, and metal components are often salvageable. This is also a good time to clean gutters, since old debris is exposed and easy to remove.
Once the roof is stripped, your contractor will inspect for hidden issues like rotten decking or mold that weren’t visible during the initial inspection. If repairs are needed, they’ll be addressed before new materials go on.
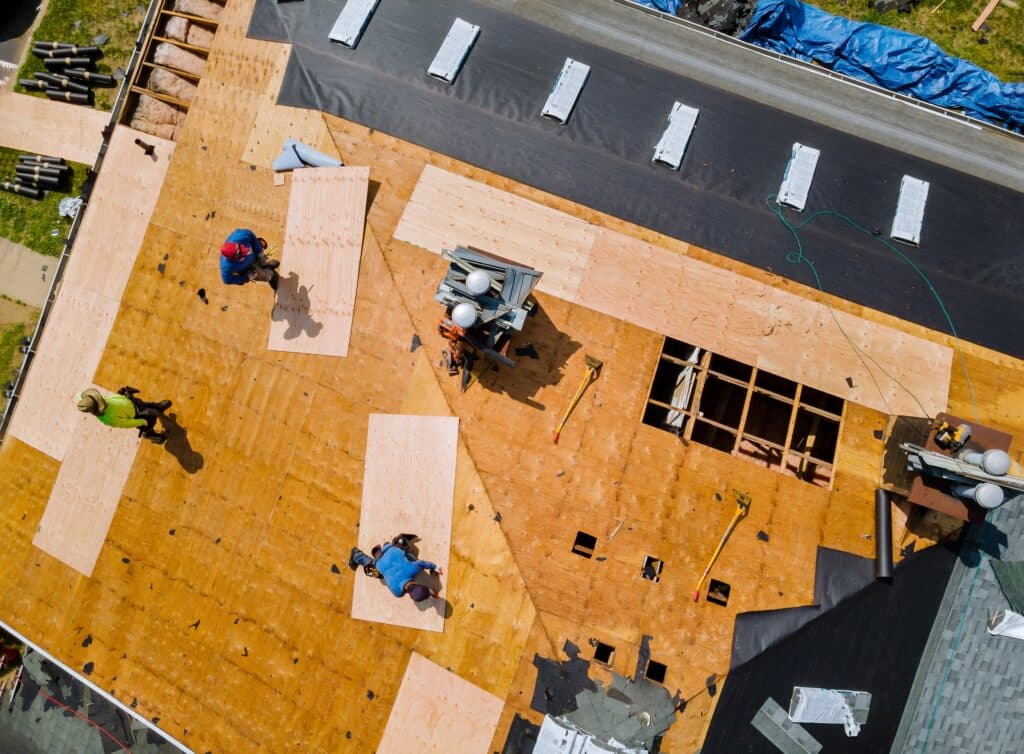
Step 7: Repairing and Preparing the Roof Deck
Your roof deck is the foundation for the entire roofing system. A compromised deck can shorten the life of your new roof and void warranties. Steps in this stage include:
- Replacing rotten or damaged decking
- Installing ice and water shields in vulnerable areas such as eaves and valleys
- Drip edge installation
- Laying a synthetic underlayment for an added moisture barrier
This work must comply with the manufacturer’s specifications. Failure to follow these can void product warranties and lead to premature failure.
If minor structural repairs are needed, such as replacing a small section of decking, your contractor might recommend roof repair instead of full replacement in certain areas.
Step 8: Installing the New Roof
With the deck prepared, it’s time for the roof installation to begin. Roof installation typically begins by laying starter shingles or panels along the eaves to create a secure base layer. From there, roofing contractors will install:
- Main roofing material, which is applied in a staggered manner
- Flashing around chimneys, skylights, and vents to prevent leaks
- Ventilation systems to regulate attic temperatures and prevent moisture buildup
- Ridge caps complete the roof, providing both protection and a finished look
Attention to detail in this step is critical. Nail placement, sealing, and alignment all affect the roof’s durability and resistance to wind and water. A reputable contractor like Adam Vaillancourt Roofing & Gutters will perform in-progress quality checks to ensure each section meets manufacturer and building code standards.
Step 9: Cleanup and Magnetic Sweep
A professional crew won’t leave your property in a mess.
The cleanup phase should include debris removal and a magnetic sweep to remove stray nails. Stray nails and debris can be dangerous for children, pets, and vehicle tires, so thorough cleanup is part of a quality installation.
Step 10: Final Inspection and Homeowner Walkthrough
A good roof contractor will conduct a comprehensive final inspection before calling the project complete.
After the contractor’s inspection, you’ll be invited for a homeowner walkthrough to review the finished work and ask any questions or express any concerns you may have. You should also receive before-and-after photos for your records.
This is your chance to ensure everything meets your expectations before making the final payment.
Step 11: Registering Warranties and Post-Installation Care
Your new roof comes with two types of protection:
- Manufacturer warranty — Covers defects in roofing materials. These often require registration within a specific timeframe.
- Contractor workmanship warranty — Covers installation errors or labor-related issues.
Make sure you ask your contractor to guide you through online warranty registration to ensure coverage is activated.
Post-installation Care Tips
- Schedule an annual roof inspection to catch issues early.
- Keep gutters clean to prevent water damage.
- Trim overhanging branches that can scrape or puncture shingles.
- Check for missing or damaged materials and contact your contractor after major storms.
Homeowner Tip: Store all warranty documents, contractor agreements, and inspection reports together in a safe place. This makes it easier to file a claim or prove maintenance history if you sell your home.
Common Mistakes to Avoid During the Roof Replacement Process
Certain missteps can lead to costly problems during roof replacements. Watch out for these pitfalls:
- Choosing the cheapest quote without vetting credentials — Low bids may mean subpar materials or unlicensed labor.
- Skipping permits or inspections — This can lead to fines, failed resale inspections, or safety hazards.
- Failing to prepare your property — Neglecting driveway clearance or landscaping protection can cause preventable damage.
- Not verifying warranty registration — Missing the deadline can void manufacturer coverage.
- Overlooking ventilation — Poor airflow can shorten your roof’s lifespan and void warranties.
Avoiding these mistakes can save you thousands in future repairs and ensure a smooth project.
Frequently Asked Questions
How long does a roof replacement take?
Most projects take 1–3 days for an average-sized home, weather permitting. Larger or more complex roofs may take up to a week.
Will insurance cover my new roof?
If the damage is caused by an event such as wind, hail, or fire, your homeowner’s insurance may cover part or all of the cost. Check your policy and file a claim promptly after damage occurs.
What is the average lifespan of a roof?
Asphalt shingles typically last 20-30 years, whereas metal roofing can last 40 years with solid workmanship and regular upkeep.
How do I know if I need a roof replacement or repair?
Signs you may only need roof repair include isolated leaks or small damaged areas. Widespread wear, curling shingles, or structural issues often require complete replacement.
Do I need to be home during my roof replacement?
It’s not required, but being available can help you quickly address questions or approve unforeseen repairs.
Your Path to a Durable, Beautiful Roof
A well-managed roof replacement process protects your home, improves curb appeal, and boosts energy efficiency. By understanding each step of the roof replacement process, you can make informed choices that maximize the value of your investment.
Take the first step today. Book a free roof inspection with Adam Vaillancourt Roofing & Gutters for a clear, honest assessment from a local expert.


