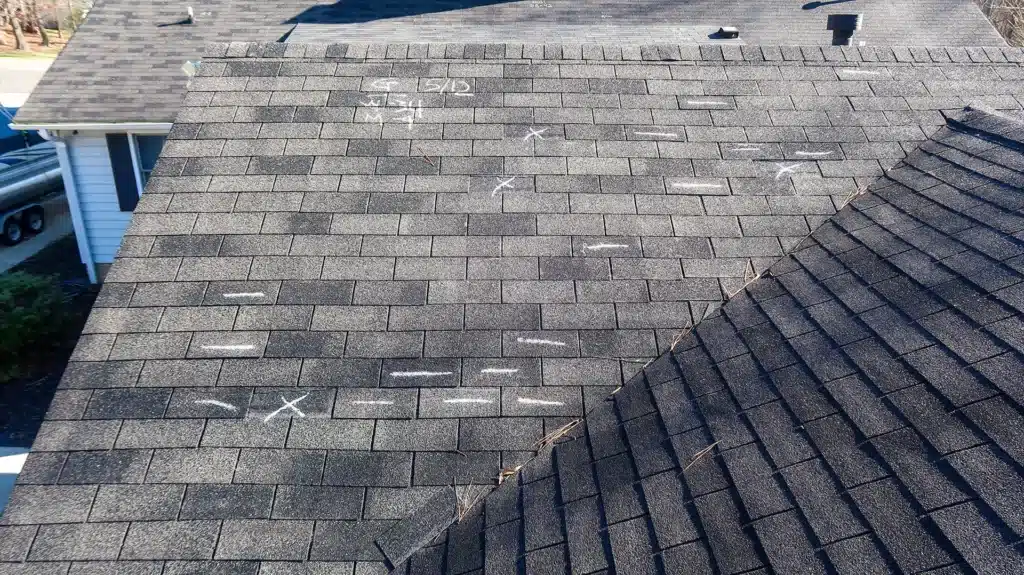
Step 1: Initial Roof Inspection
Step 2: Planning, Permits, and Materials
Step 3: Preparing Your Home and Property
Step 4: Removal of the Old Roof
Step 5: Repairing & Prepping the Roof Deck
Step 6: Roof Installation
Step 7: Cleanup and Magnetic Sweep
Step 8: Final Inspection and Walkthrough
Step 9: Warranties & Post-Installation Care
Step 1: Initial Roof Inspection
Every project begins with a detailed roof inspection performed by one of our certified specialists. We assess every component of your roofing system, including:
- Shingles for curling, cracking, or missing pieces
- Flashing around chimneys, skylights, pipes, and vents
- Roof decking for signs of rot or moisture damage
- Attic ventilation to prevent mold, ice dams, and heat buildup
- Gutters for granule loss, water flow issues, and drainage concerns
Step 2: Planning, Permits, and Materials
Once you choose us for your project, we handle all required local permits, ensuring your roof meets building codes across NH, MA, and ME. This protects your home and simplifies resale down the road.
Material selection is one of the most important parts of planning. We help you compare roofing systems based on:
- Weather resistance
- Lifespan and warranty coverage
- Style and curb appeal
- Energy efficiency
- Budget
Step 3: Preparing Your Home and Property
A smooth installation starts with proper preparation. Before our crew arrives, we recommend:
- Clearing your driveway for trucks, dumpsters, and material deliveries
- Notifying neighbors about the upcoming project
- Securing fragile items inside (vibrations can shift them)
- Covering items in the attic or garage with plastic sheeting
Step 4: Removal of the Old Roof
The tear-off phase is loud but essential. Our team removes:
- Old shingles or metal panels
- Underlayment and nails
- Damaged flashing
- Debris trapped in the roof edges or gutters
Step 5: Repairing & Prepping the Roof Deck
Your roof deck determines how well your new roof performs. We complete all necessary preparation, including:
- Replacing rotten or weakened decking
- Installing ice and water shields in valleys and eaves
- Applying drip edge protection
- Laying premium synthetic underlayment as a moisture barrier
Step 6: Roof Installation
With the deck prepped, our certified installers begin the roof installation. This stage includes:
- Starter shingles or starter panels along eaves
- Staggered installation of the main roofing material
- Replacement or installation of flashing around vulnerable areas
- Ridge vent or attic ventilation installation
- Ridge cap shingles or metal caps for a finished, watertight seal
Step 7: Cleanup and Magnetic Sweep
A quality roof replacement includes a spotless cleanup. Our team:
- Removes all debris daily
- Cleans gutters if debris has collected during the tear-off
- Completes multiple magnetic nail sweeps to protect vehicles, pets, and children
We ensure your home and yard look just as clean as they did before the project began.
Step 8: Final Inspection and Walkthrough
Before the project is considered complete, your project manager performs a detailed inspection to verify that every component was installed correctly. Then we walk you through the finished roof, answer questions, and provide before-and-after photos for your records.
We don’t finalize the job until you confirm everything meets your expectations.
Step 9: Warranties & Post-Installation Care
Your new roof includes two warranties:
- Manufacturer warranty (must be registered within a specific timeframe)
- Workmanship warranty from Adam Vaillancourt Roofing
We help you complete all required registrations so your coverage is fully activated.